RSI provides workshops and trainings to professionals within the pipeline integrity industry. These workshops span the full range of services we provide and are offered either directly through RSI as on-site at your facility, through an online workshop, or through a third party conference and seminar provider with whom we have partnered.
A list of most common training courses are included here.
If you should have need for a customized training that is not shown here, please contact us for assistance.
Microstructure Quantification for Line Pipe Steels
Presented by Nathan Switzner, PhD
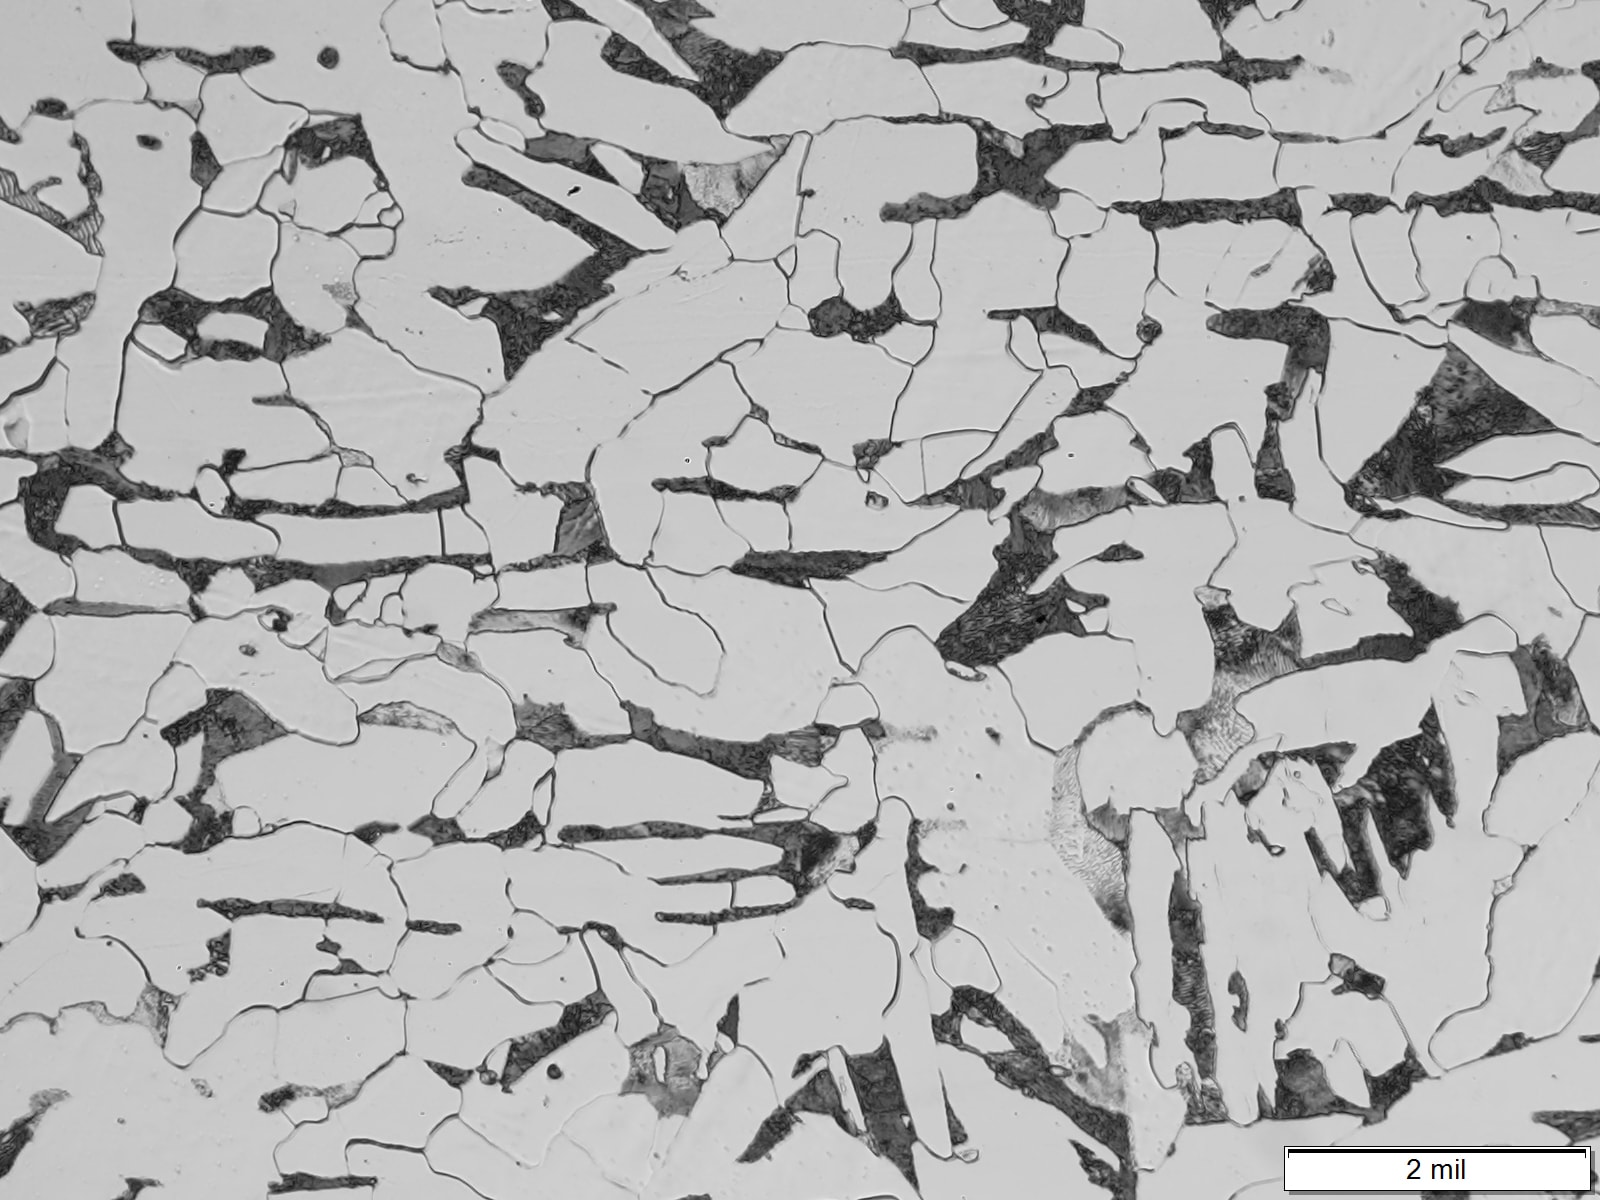
Line pipe steel is a metallic alloy that typically contains >98% iron (Fe) with small, but important additions of manganese, silicon, carbon, and other elements. As with any alloy, the thermo-mechanical processing history of line pipe steels produces a microscopic structure (microstructure), knowledge of which can provide insight into the composition, vintage, strength, and even toughness of the pipe. While a qualitative understanding of the microstructure can illuminate general performance expectations, quantifying features such as grain size, extant phases, and constituent fractions provides an enhanced opportunity to refine those expectations by comparison to historical pipe characteristics. This is accomplished through the practice of quantitative metallography.
Metallography refers to the practice of cutting out a sample, preparing the sample surface, and viewing the microstructure under a microscope. Images of the microstructure can then be quantified in terms of grain size and constituent fractions. Lately, quantitative metallography has seen increasing use for in situ characterization of line pipe thanks to metallographic “replication”, which is a non-destructive adaptation of metallography whereby the pipe surface is prepared, and a negative imprint of the microstructure is reproduced using a replication medium that can be transferred to the laboratory for quantitative analysis. This presents the practical opportunity to estimate, in situ, the properties of line pipe by quantitative comparison of the field-determined microstructural features with those from a database of historical line pipe.
In this course, you will learn about the steelmaking and line-pipe making processes that give rise to different microstructural features. Next, you will learn about some specific effects and relationships between the quantifiable aspects of steel microstructure and some important properties of steel. We will walk you through the important specifications for quantitative metallography, such as ASTM E112 for grain size evaluation. Finally, you will be trained on how to quantify microstructures using our accurate, streamlined manual methods. By the time you complete this training you will be doing more than just “going through the motions” of quantifying microstructures. You will also begin to understand the context and meaning of your results.
Training provided for small groups through RSI Pipeline Solutions. Please contact us for details.
IM Field Investigation for Inspection Technicians
Presented by Michael Rosenfeld, PE
The emphasis of Program 1 is on providing front line technicians with an understanding of the purpose of Integrity Management (IM) field investigations, the data to be obtained in the course of the investigation for differing defect conditions that could be encountered, the methods for making measurements including nondestructive examination (NDE), the use of the data in field evaluations of various conditions for determining whether repairs are needed, and selecting a method for repair.
Day 1
Day 1 will provide an overview of the IM process including regulations and standards that drive IM, the concept of pipeline integrity threats, a review of the various types of defects that the technicians could encounter in the field, and the capabilities and limitations of in‐line inspection for detecting the conditions of concern, among other details.
A proposed outline is as follows:
- Integrity management process (2 hrs)
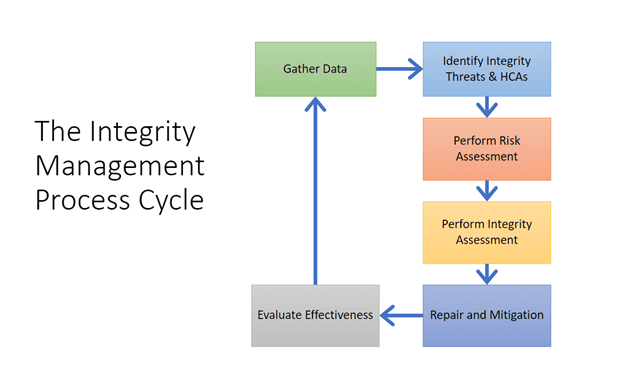
- Overall process – integrity threats, threats interaction, risk assessment, integrity assessment, mitigation
- Integrity management standards for hazardous liquid pipelines – 49 CFR 195.452, ASME B31.4, API RP 1160, API RP 1176 (Optional: 49 CFR 192 Subpart O and ASME B31.8S for natural gas pipelines)
- Pipeline defects (2 hrs)
- Pipe manufacturing defects – ERW seam defects, laminations, other pipe manufacturing defects
- Environmental defects – Pitting corrosion, ERW selective corrosion, SCC
- Mechanical damage – Rock dents, excavator damage, buckles
- Girth weld defects – Defect types, significance
- Integrity assessments (2 hrs)
- Hydrostatic pressure testing – Benefits and limitations
- In‐line inspection – Technologies, sources of error, validation, ILI vs HT
- Direct assessment – Techniques, benefits and limitations
- Learning verification (1 hr)
- Written proficiency test
- Review, discussion, Q&A
Day 2
Day 2 will cover practices for evaluating the severity of external metal loss caused by corrosion. Opportunities for practicing pitting depth measurement will be provided, either using actual corroded pipe provided by DCP, or by practice pieces milled from plastic pipe provided by RSI. (RSI can provide pit gages to be shared by small teams working together.)
A proposed outline of the subject matter to be covered is as follows:
- Background on remaining strength evaluation methods (1.5 hrs)
- Technical basis – History, validation
- Versions – Original ASME B31G, modified B31G, effective area method, KAPA, RSTRENG
- Documentation needs (2 hrs)
- What to observe in the ditch – coating type, coating condition, pipe damage, seam type, soil type, water, corrosion products (color, consistency, sampling), under‐coating pH
- Extent of corrosion – Location, orientation, photography, mapping it out, comparison with ILI, grids, profiles
- Performing the evaluation (1.5 hr)
- Interaction – adjacent pits, seams or girth welds, recognizing ERW selective corrosion
- Evaluation – Using KAPA, entering data, understanding the results
- Hands‐on measurement methods (1.5 hr)
- Sample measurements using depth mic
- Evaluation using KAPA
- Data, measurements, NDE needed for other conditions (1 hr)
- Mechanical damage, scrapes
- Deformations – Plain dents, buckles
- Seam features
- Cracks
- Learning verification (1 hr)
- Written proficiency test
- Review, discussion, Q&A
Day 3
Day 3 will cover field examination of defects other than external corrosion, including seam features that may be detected by ILI. Time will be allocated for one or more NDE contractors that DCP may already be working with, or specialists in the DCP organization, to present the principles and demonstrate practices involved in applying their NDE methods. Repair options will also be discussed.
A proposed outline of the subject matter to be covered is as follows:
- Measurement and NDE for crack‐like defects, including NDE demo (2.5 hrs)
- ERW seam defects
- SCC
- Measurement and NDE for damage (2 hrs)
- Plain indentations from rocks
- Scrapes and gouges
- Wrinkles or buckles
- Pipeline repairs (2 hrs)
- Pressure reduction – Requirements, recommendations
- Steel sleeves – Type A and B styles
- Nonmetallic composite wraps – Appropriate uses, limitations
- Buffing or grinding – Appropriate uses, limitations
- Company repair manual review and discussion
- Learning verification (1 hr)
- Written proficiency test
- Review, discussion, Q&A
Intermediate and Advanced Concepts for IM Professionals
Presented by Michael Rosenfeld, PE
The emphasis of Program 2 is on providing IM professionals including engineers, analysts, and managers with an overview of the technical concepts of pipeline reliability and integrity management, applicable regulations and standards, integrity threats, methods available for evaluating the severity of defects, integrity assessments, and determining reassessment intervals. While there is some overlap with parts of Program 1, Program 2 provides a more technical treatment of those subjects and covers a number of topics not discussed in Program 1.
Program 2 is proposed for 2 days, with a single learning assessment at the end.
A proposed outline of the subject matter to be covered is as follows:
- Integrity management standards (2 hrs)
- Overall process – integrity threats, threats interaction, risk assessment, integrity assessment, mitigation
- Integrity management standards for hazardous liquid pipelines – 49 CFR 195.452, ASME B31.4, API RP 1160, API RP 1176 (Optional: 49 CFR 192 Subpart O, ASME B31.8S for natural gas pipelines)
- Pipeline defects (3 hrs)
- Pipe manufacturing defects – ERW seam defects, laminations, and other pipe manufacturing defects
- Environmental defects – Pitting corrosion, ERW selective corrosion, SCC
- Mechanical damage – Rock dents, excavator damage, buckles
- Girth weld defects – Defect types, significance
- Material behavior (1 hr)
- Material strength – Expected variation in YS and UTS
- Fracture toughness – Transition temperature, CVN, CTOD, J‐integral
- Fracture mechanics (2 hrs)
- Basic concepts
- Models for critical defect size – NG18 ln‐secant, Modified ln‐secant, API 579 FAD, MAT‐ 8, Raju‐Newman, ASME B31G
- Integrity assessments (2 hrs)
- Hydrostatic pressure testing – Benefits and limitations
- In‐line inspection – Technologies, sources of error, validation, ILI vs HT
- Direct assessment – Techniques, benefits and limitations
- Reassessment intervals (2 hrs)
- Corrosion – Corrosion rates, ILI run comparisons
- Pressure cycle fatigue – Cycle counting, Paris Law crack growth
- Stress corrosion cracking – Crack growth rates
- Pipeline repairs (1 hr)
- Pressure reduction – Requirements, recommendations
- Steel sleeves – Type A and B styles
- Nonmetallic composite wraps – Appropriate uses
- Learning verification (1 hr)
Pipeline Metallurgy and Integrity
Presented by Bill Amend, PE
In this course the attendees will be introduced to pipeline steel metallurgy, the flaws associated with pipe and fitting manufacturing and fabrication, and the effects of pipe properties and flaws on long-term integrity of pipeline assets.
The course scope includes:
- Pipeline Steels – early and modern
- Compositions
- Heat treatment; common temperatures and the reasons for it
- Standards and specs and how they have changed; old v. new, ASTM v. API, fittings v. pipe
- How pipe and fittings are made (seamed and SMLS)
- How pipelines fail
- Manufacturing and fabrication flaws
- In-service degradation
- Introduction to flaw assessment and repair
- Steel testing
- Tensile tests; definitions of YS, YS v. UTS
- Toughness tests; dynamic v. quasi-static loading
- Hardness tests; advantages v. limitations of Brinell, Rockwell, UCI, Leeb, Vickers
- Chemical analysis tests
- Taking lab tests into the field: portable tests
- How to read an MTR; key information besides composition and strength
- Sources of variation in results from different labs
- Welding
- Methods; comparing the key applications and characteristics of the options
- Old and new joint designs and what it means for pipeline integrity
- Welding onto in-service piping; managing burn-through and H+ cracking
- Introduction to H2+natural gas blends and the ASME B31.12 standard
- Potential integrity issues from hydrogen blends
- Some key differences between B31.8 and B31.12 regarding pipeline design and materials

